|
1. Confirm you have an operational Moneysoft Professional or Partner account with active clients
|
- If you do not have an active account, register here and invite your clients.
|
|
2. Confirm you have an active DocuSign account
|
- You will need to have an active DocuSign account. i.e. an account where you currently use for
document signing with your clients or members. If you are unsure, read below to learn more.
|
|
3. Confirming you have a DocuSign account
|
|
|
|
4. Authenticate the Moneysoft and DocuSign Site Connection
|
- Log into your Moneysoft Professional or Partner account to activate your DocuSign account.
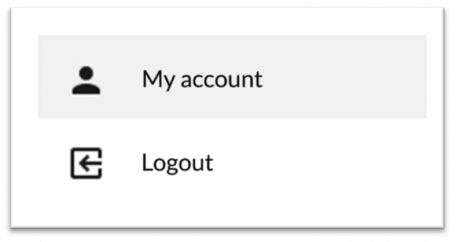
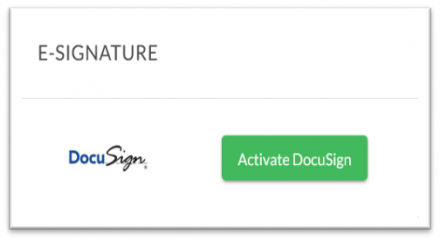
- Once logged in, navigate to your My Account page, scroll down to the E-Signature module and
click the Activate DocuSign button.
|
|
|
|
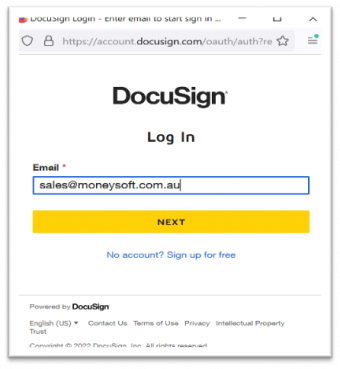
- Enter your DocuSign site Username and click Next
|
|
- Enter your DocuSign Password and click login.
|

|
- An authentication code window will appear and request to send a code to your registered email address.
|
 |
- Enter the verification code that you receive by email in the authorisation window as shown below
|


|
- Once completed your E-signature status will be authenticated and a tick symbol will appear together with an update to the button which now will read “Reactivate DocuSign”. You have now completed all the activation steps. The reactivate action is used at any future point when there is a session time out as a simple connection verification method.
|

|
|
5. Enable the “Pending Signatures” feature
|
- After completing the above steps click back to the individual clients view in the dashboard and select “Set your view”. A window will appear with all your available features to display on your dashboard.
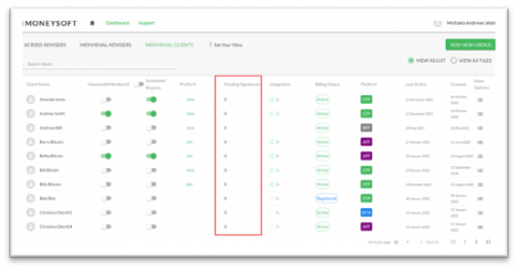
- Check to see if Pending Signatures feature is displaying i.e. green confirms display, otherwise click of the slider toggle to turn on and click Apply.
- You will note that when Pending Signatures is turned on, your dashboard will also include the pending signatures status column in the main screen now when viewing the clients as highlighted in red.
|

|
|
6. Completing the signature process of a digital fact find.
|
|
Once your client has completed the digital fact find, you will then be able to generate the Fact Find for review and signing
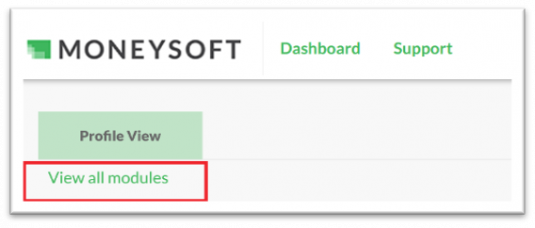
- If you cannot locate this module make sure you are displaying all the modules on the page by clicking “View all modules” which is located below the Profile View Tab at the top of your modules.
|
|
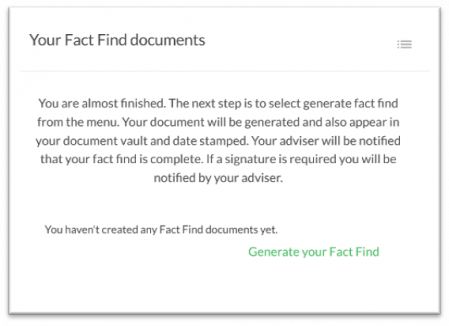
- Click on the Generate Fact Find button and a digital copy of all the data in the Fact Find will be available in a PDF format.
|
|
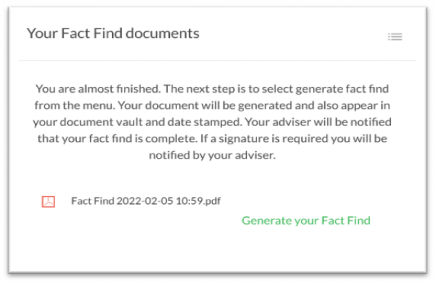
- A new digital fact find has now been generated with a time stamp. Each time you click on Generate Fact Find a new fact find is generated with a time stamp. This is a compliance feature to make sure you can always compare fact finds in the event of new information.
|
|
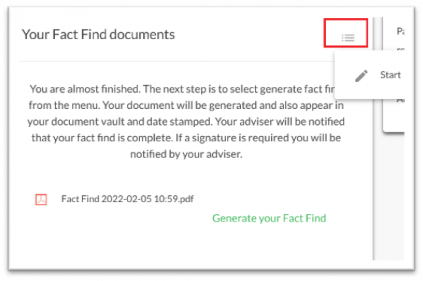
- Click on the menu button “hamburger menu” and click start. You will be directed to the Documents storage page with all the historical generated fact finds for the client.
|
|
-
All Fact Finds generated for the client are stored in the Documents section for both compliance and reference. The Fact Find are organised in time stamp order i.e. latest at the top
-
Click on the down arrow to download a PDF copy of the most recent Fact Find generated.
|

|
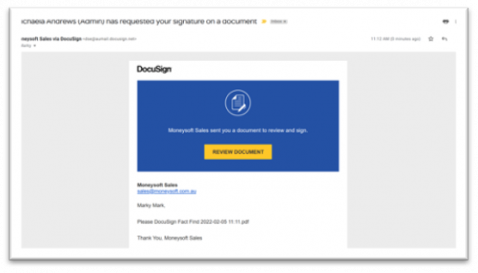
- An automatic email will be generated to the client requesting them to complete the signature section of the Fact Find document. This email will be sent to the email that is registered to the client account.
|
|
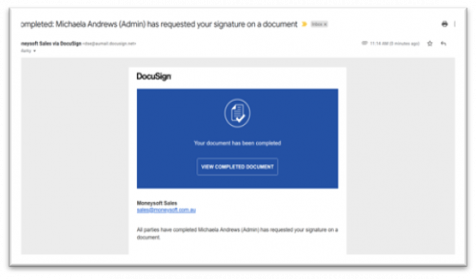
- Once the client completes the document signing process an automated email is sent to the client account, a notification is sent to the adviser with attachment.
|
 |
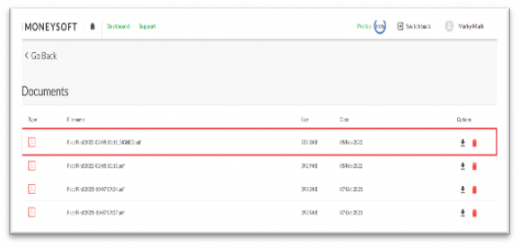
- The client Fact find documents module will be updated now with the latest signed version for compliance.
|
 |
- Your clients documents module is always updated with the latest signed version and this is identified with the <time-stamp_Signed> version for ease of reference and for compliance.
|
 |
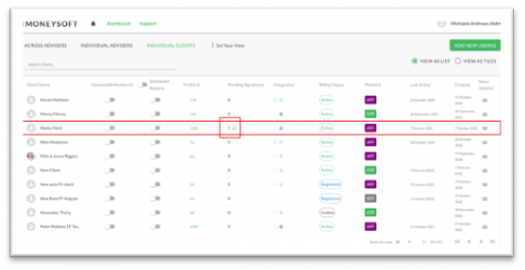
- In your partner account when there is unsigned documents you will also be prompted with a “Pending signatures” number next to the client name where signatures are pending.
|
|


